3D Printing in the Classroom
A Basic Introduction to CAD and 3D
Designing a 3D model for Printing
Tinkercad is a nice CAD software for beginners. It’s a free software that doesn’t require a download because it runs in the browser. We also offer course which clearly explains the in’s and out’s of Tinkercad.
For these examples we will be using Tinkercad, but feel free to use whatever software you feel comfortable with.
Search up Tinkercad in your browser and make an account. Once you’ve signed into Tinkercad select new design. This will open up a new workplane.
With any software the first thing you should do is select the bed size. The bed size you input should be the same size as the bed of the 3D printer that you are going to use.
Next, you can edit the project name by pressing on the generated name on the top left of the screen. Left click with the mouse to select shapes and right click to navigate around the plane. The Scroll wheel is used to control the zoom. On the right hand side of the page there is menu featuring Tinkercad’s pre made shapes, to import you’re own 3D shape or model select import at the top right.

Downloading 3D models
The easiest way to obtain a 3D printable file is to download a pre made one. There are thousands of pre designed files on the internet that you can use and incorporate into a project. You can use pre made 3D files inspire or assist you in making your own project.
Websites such as Youmagine, Thingiverse and MyMiniFactory all have thousands of free 3D files that you can download and import into your CAD software. Most of these websites will also have an education section, with the 3D files focusing on elements of learning.
See below a 3D file of yosemite valley found on Thingiverse that was then imported into Tinkercad.
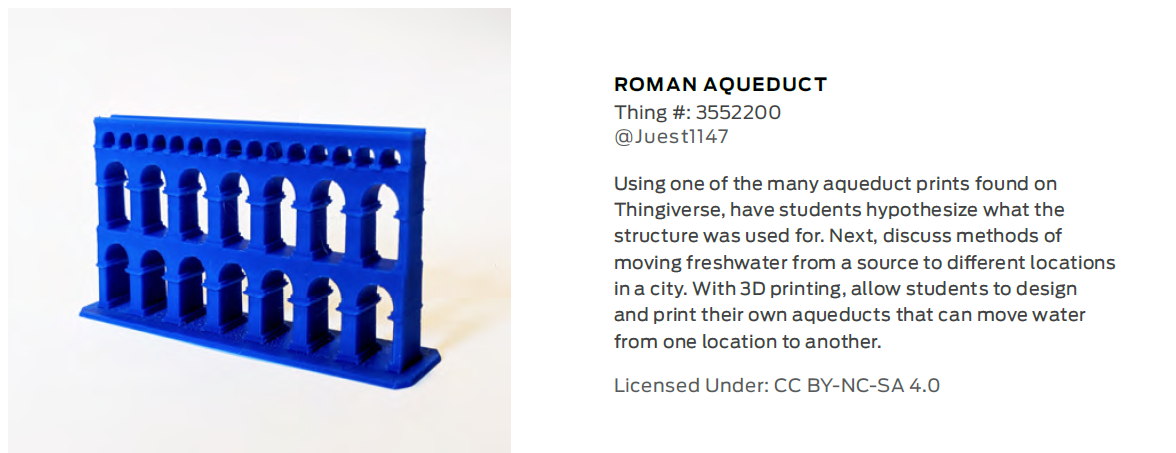
Once the 3D files is imported you can choose to either save and print or edit it further. Students are encouraged to experiment with importing and editing things, then progress onto designing things themselves. This gives them confidence in their ability and the software before being told to do it completely by themselves. See below some more ideas found on Thingiverse.
Working with models
Once the 3D files that you are going to use are downloaded, import them into Tinkercad. Practice editing the size and add any detail you wish. It’s important to experiment here and explore what Tinkercad can do. Play around with features that you think you might need in the future and familiarise yourself with them.
Slicing your 3D model for Printing - CURA
Once you have your model file, normally saved as an .stl file, you need to convert it into a code that the 3D printer understands.
To do this you need a Slicer software, one of the most commonly used is CURA from Ultimaker. You need to download CURA from the Ultimaler website and install it on your computer.
You then open your model file in CURA and convert it to .gcode for printing. The gcode will then be transfered to your 3D printer by either SD card, USB key or via wifi depending on the printer you have.
Endless project possibilities
There are an endless amount of projects you can undertake with your 3D printer. Whether just producing a part for a larger project to projects which are fully completed on the 3D printer.
- Design and build a robotic arm
- Print 3D body parts
- Design and build a mechanical gripper
- Explain gears with 3D built parts
- Scan real live objects and print a copy
3D printing will expand the range of posibbilities for student projects.


